


So many of you have probably read or at least heard of the book If You Give a Mouse a Cookie by Laura Numeroff. If you haven’t, basically the mouse keeps asking for more things after each thing he’s given. Give him a cookie, he’ll want milk, then a straw, then a napkin, and so on.
For me that happened this summer with an unexpected and much needed kitchen remodel.
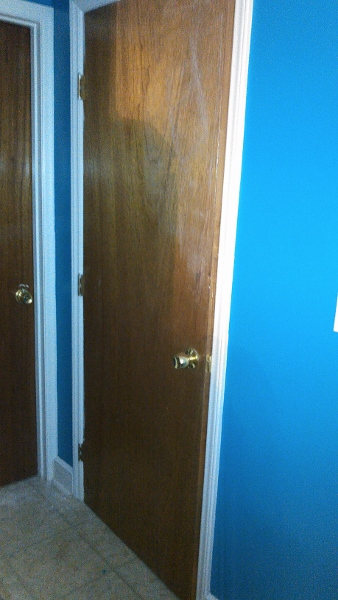
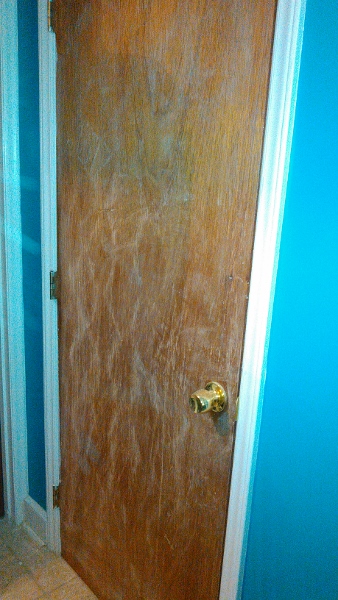
I got “new to me” cabinets, new countertops, and put a new paint color on the walls. But that wasn’t enough. It became more than just updating the kitchen … I also needed to update the doors that can be seen in my kitchen, which includes the door to the laundry room, the one to my room, and the pantry door. If everything else was going to look new, updated, and inviting, then I just had to do something with the doors. They were becoming an eyesore.
The DIY kitchen remodel got to a point that my husband never knew what I was going to do next to bring the room together.
Now if you love those flat, hollow doors, that’s great. I just don’t like them — never have and thought I couldn’t afford to ever have anything but those doors. And then there was a fresh, new kitchen and endless hours searching the internet for ideas on what to do that would be cheaper than door replacement.
How to Take Your Doors from Drab to Fab … By Yourself!
So here’s how I took my flat, hollow wood doors from drab to a little more fab. And for the moms who are too busy or too scared, I hope this will give you the confidence to try it out. While this can be a weekend project, it’s okay to do it all in stages over a week or two (like I had to do). Afterall, I still had to take care of my 3 kids, as well as officially return to work.
Materials:
The best news is I already had a lot of these items on hand!
- Sanding block
- Sandpaper (80 grit)
- Moulding
- Liquid Nails
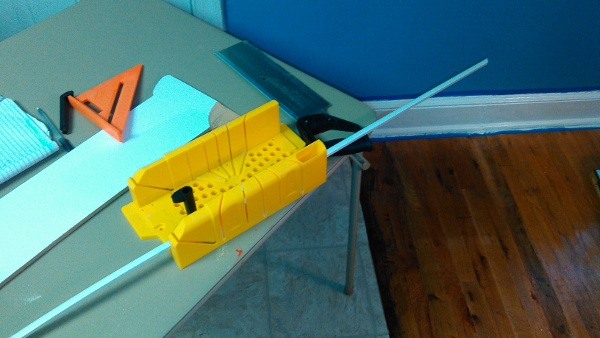
- Miter box and saw
- Primer
- Paint
- Caulk
- Level
- Sharpie
- Paper towels
- Caulk gun (for the liquid nails and the caulk)
- Painter’s tape
Getting Started:
1. Measure your door.
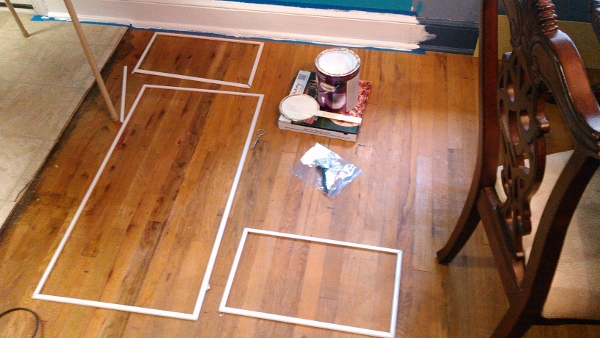
2. Sketch out possible design ideas for the moulding. Draw as close to scaled as possible so you can figure out how much moulding you will need.
3. Buy your materials from your local home improvement store.
Directions:
1. Using your sanding block and sandpaper, scuff up the surface of your door. Just enough to get some of the glaze or paint off.
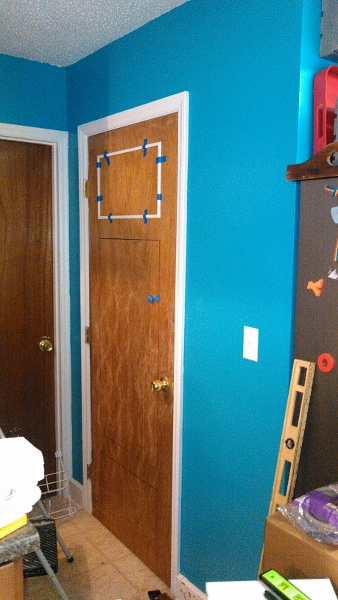
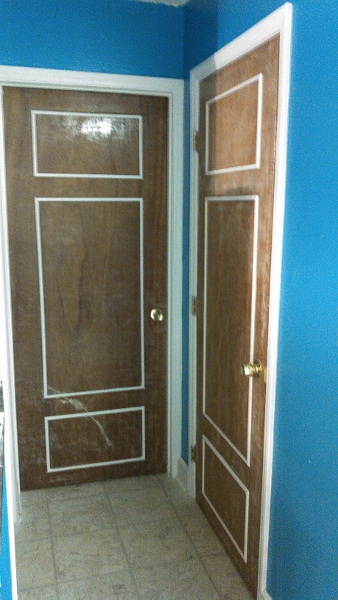
2. Using a level, measure out your design and draw it on your door.
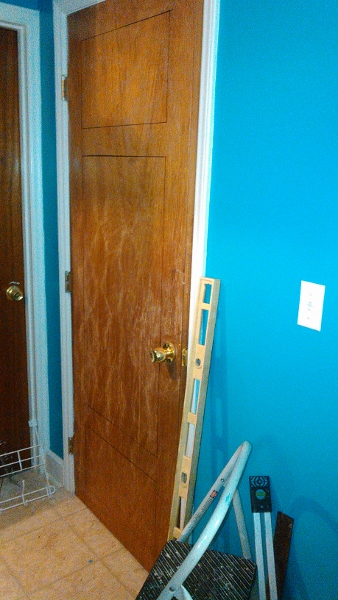
3. Take your measurements from your sketch and chosen design and start cutting your moulding using the miter box. Be real careful about how you place your moulding in the box so your angles are cut in the right direction.
4. Check your work by laying out your cut pieces to replicate the design you chose.
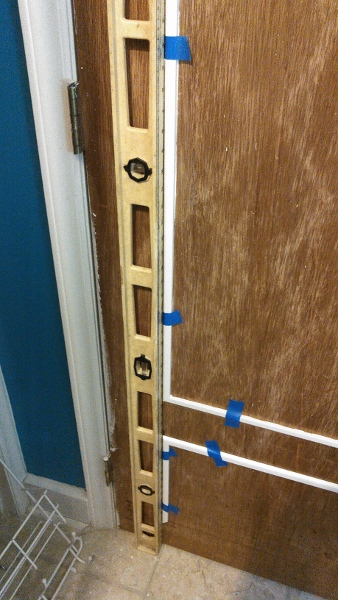
5. Move to the door. If you want to make sure of all your measurements, use some painter’s tape to hold your moulding in place.
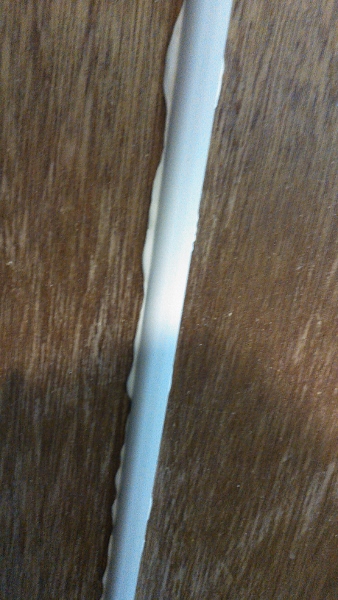
6. Take one piece of moulding at a time and apply liquid nails to the back. I prefer to start with a piece that is vertical.
7. Press the moulding to the door and wipe up any excess with a paper towel. If it’s a lot, then you can wipe some of it off on the next piece of moulding you will put up.
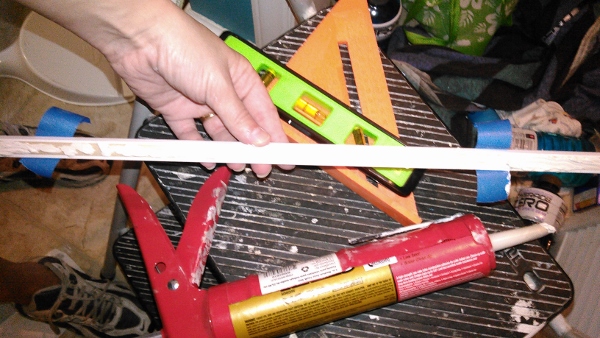
8. Using your level, make sure your moulding is straight. Make any adjustments if you need to.
9. Continue steps 6-8 until all your moulding is in place. Allow all pieces to dry and set for about 24 hours.
10. Sometimes a gap may happen at one of your angles. If that is the case you can fill in with some paintable caulk.

11. Prime and paint your door.
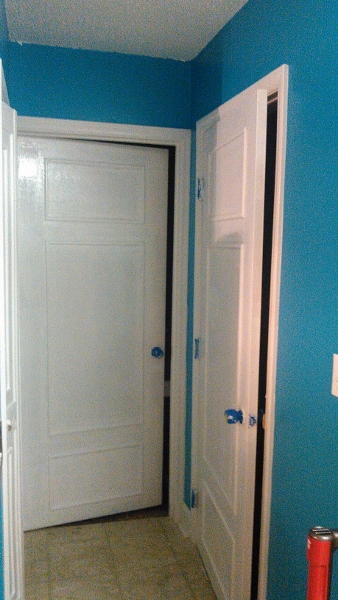
12. Enjoy your new update. Or if you’re like me debate whether to add a little something to your newly created “panels.” Hmmm … should I go for it or leave them white? What are your thoughts?
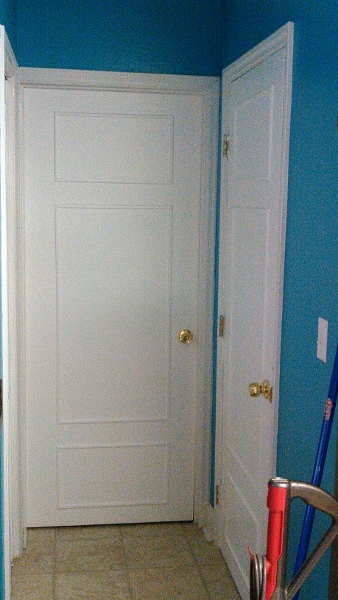
If you’ve been looking for a way to update your doors, give this a try — the possibilities are endless! Have you refurbished doors in your home? What worked best for you?
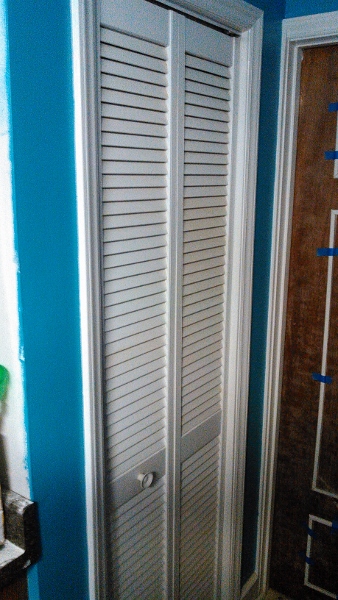
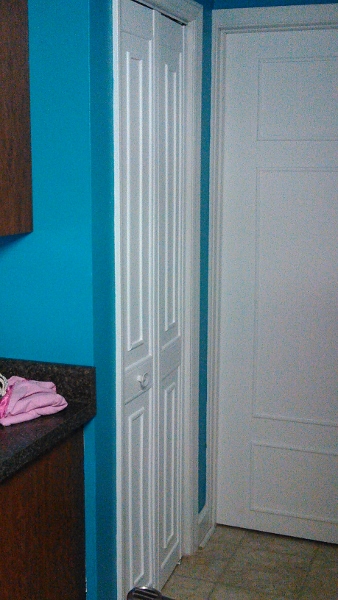
** Come back next month to find out how I took my louvered pantry doors and updated them with a little work, some moulding, liquid nails, and paint. Take a sneak peek at these before and after shots. **


