


 One of our favorite spring activities is raising painted lady butterflies! It’s a tradition that I started years ago as a kindergarten teacher, and continued with my children when I became a stay-at-home mom. Raising butterflies is a fun way to introduce animal lifecycles and incorporate STEM learning into your little one’s daily routine!
To teach your kids about butterflies, you can start with a caterpillar kit. We always order our caterpillars from Insect Lore through Amazon. There are different sized kits depending on how many children you have and your learning goals, but I recommend starting with the most complete kit. It comes with everything you need to house and feed your caterpillars as they go through their metamorphosis.
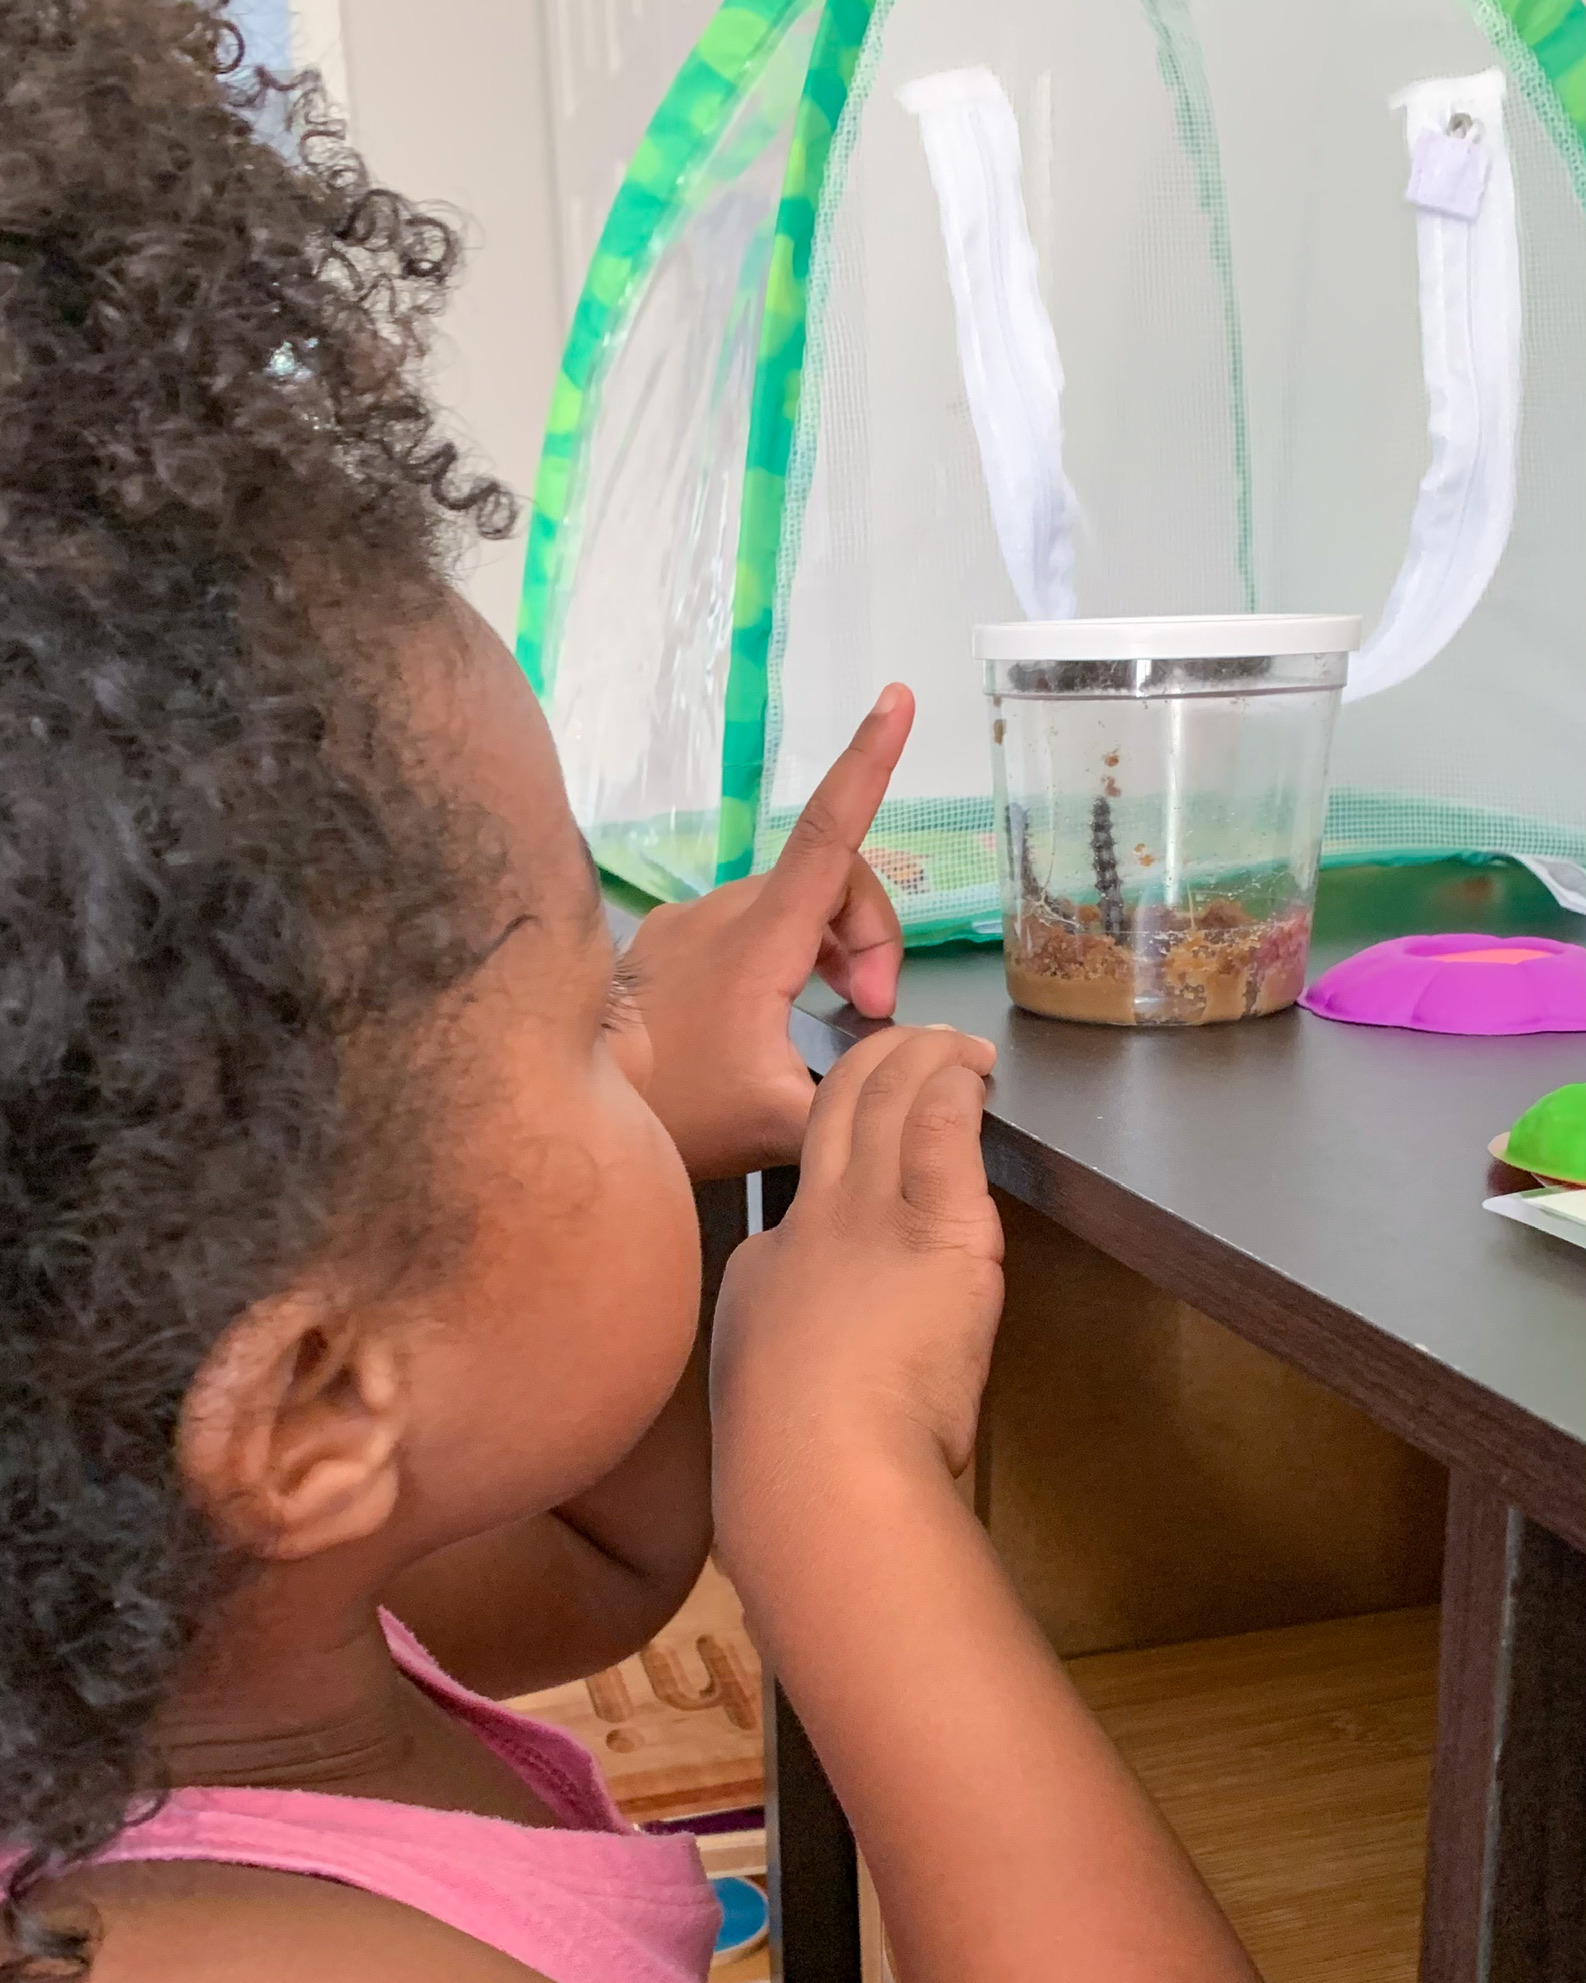
When your butterfly kit arrives, you’ll have five tiny caterpillars in a cup with a thick layer of brown food on the bottom. Even if you’re tempted, do not open the jar. They’re getting all the food and air they need, and you don’t want to disrupt their growth. This stage is fascinating to my kids because the caterpillars grow so quickly!
 After about 10 days, the caterpillars will crawl toward the lid of the cup. This means they’re ready for the next phase. Their bodies will hang in a “J” shape and you’ll see their chrysalises slowly start to form.
Once every caterpillar has completely formed a chrysalis, you or your kids gently take the lid off the jar and set it on the holding log that was included in the kit. You put the holding log inside the habitat and they’ll stay in their chrysalises for about 10 more days as they change into butterflies.
The next part is my favorite: the butterflies will emerge! It’s hard to catch them exactly when they come out of their chrysalises, but one day you’ll check and there they’ll be! They don’t fly immediately because their wings are wet and they have to flap them dry, but once they start flitting around, they’re so pretty.
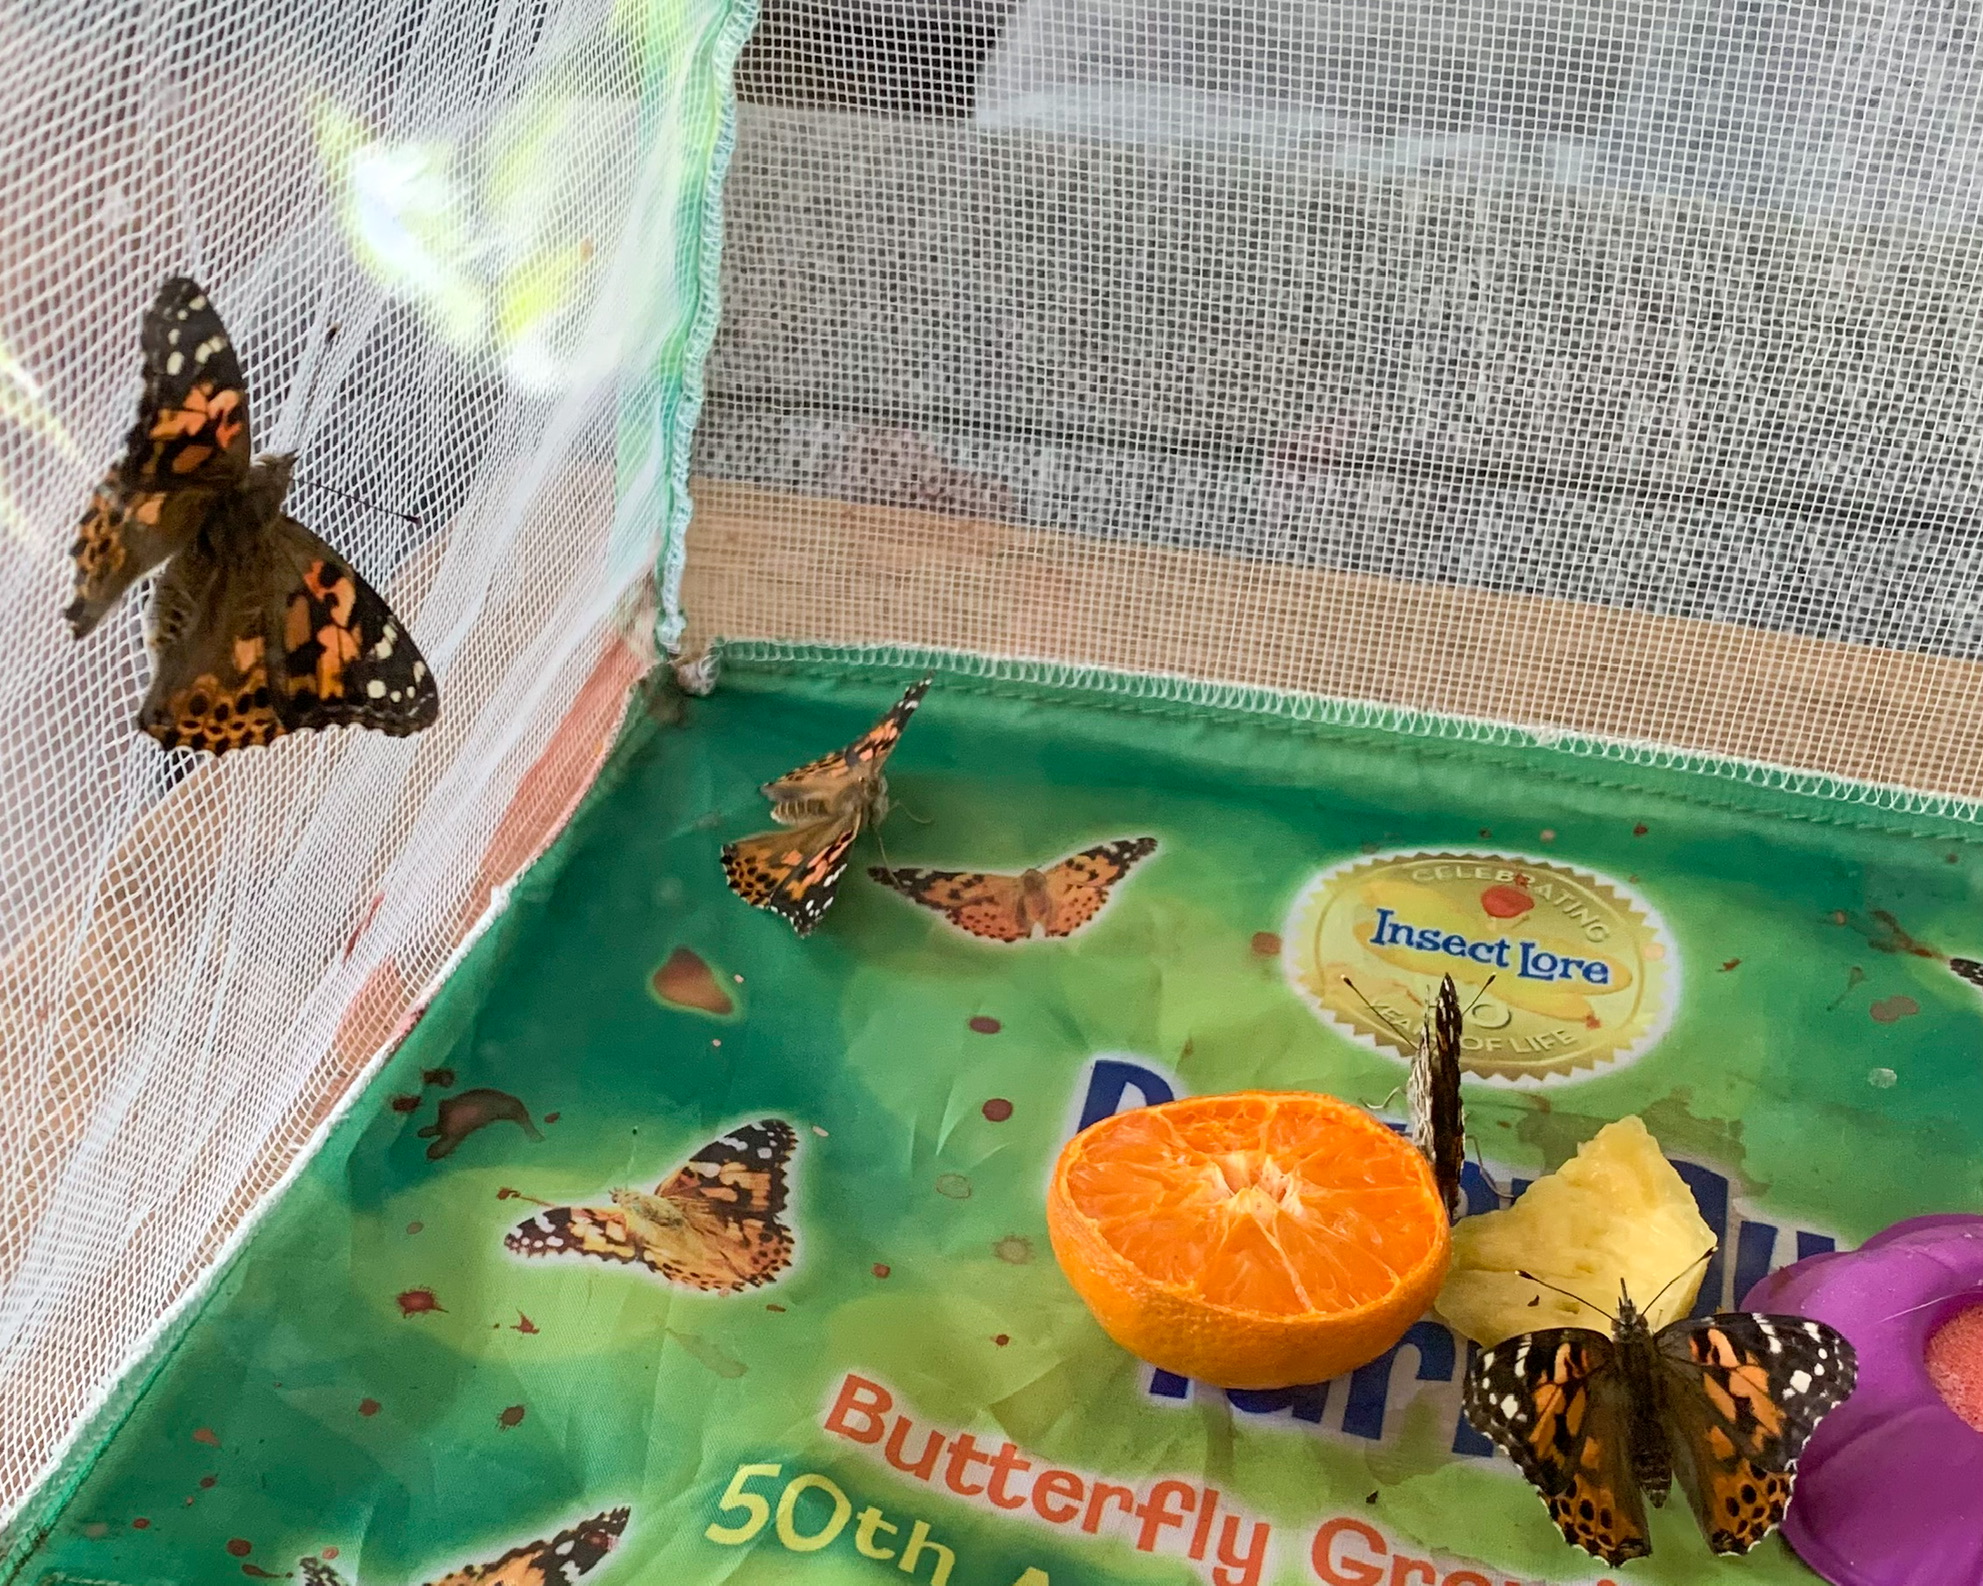 If you see butterflies, that means it’s time to feed them. One option is to make them a sweet water mixture with the sugar packets and feeder the kit comes with. Another option is to give them slices of fresh fruit. (Our butterflies have always loved oranges and pineapples.) And a third option is to give them a few fresh flowers so they can drink the nectar.
We usually keep the butterflies in our house for a few days because my kids learn so much from studying their behavior and their body parts up close. They especially love watching the butterfly’s proboscis (straw-like mouth) when they eat.
Release day is bittersweet. My kids are sad because they’ve gotten attached to the butterflies, but they’re also very excited to watch them fly away. If your kids want to hold your butterflies before they go, rub a little fruit on their fingers and the butterflies will hang out to drink the juice.
 One nice thing about this kit is that if you decide to raise butterflies each year, you don’t have to replace the entire thing. You can save the net habitat and all of the pieces and then just order a new cup of caterpillars.
My biggest tip through this process is to take pictures during each stage of the transformation. It’s incredible to compare how they change from the jar of tiny caterpillars to the day you set them free!
Have you ever raised insects in your home? What was your experience like?


